Hibiscus Drawing - Your Guide To Creating Tropical Blooms
Have you ever looked at a hibiscus flower and felt a pull to capture its beauty on paper? It's a pretty common feeling, you know. These bright, open blooms, with their soft petals and bold centers, really do invite a person to pick up a pencil and just start sketching. They have a kind of cheerful vibe that's hard to ignore, and honestly, making a picture of one can be a very calming way to spend some time. So, if you've been thinking about trying your hand at drawing something lovely, a hibiscus might be just the thing to get you started.
There's something quite special about putting down lines and shapes that slowly become a recognizable flower, something that feels a bit like magic. People often find that creating art, even simple drawings, helps them relax and clear their thoughts. A hibiscus, with its straightforward shape but still a touch of graceful movement, offers a nice balance for artists of all levels. It's not too tricky for someone just beginning, yet it also gives plenty of room for those with more experience to add their own unique touches. You might be surprised at how much joy you can get from just a little bit of creative effort, too it's almost a given.
This little guide is going to walk you through the process of making your very own hibiscus pictures, from the first marks on the paper to adding vibrant color. We'll chat about simple ways to get started, how to make your pictures really stand out, and even some fun things you can do with your finished art. Whether you're hoping to create a simple sketch or something a bit more detailed, we've got some thoughts that could help. We're here to share the fun of drawing these wonderful flowers, and we hope you find some inspiration along the way, that is for sure.
Table of Contents
- How to Begin Your Hibiscus Drawing Adventure?
- What Makes a Hibiscus Drawing Pop?
- How Can You Use Your Hibiscus Drawing Creations?
- Any Tips for a Better Hibiscus Drawing Experience?
How to Begin Your Hibiscus Drawing Adventure?
Starting to create any kind of picture can feel a little bit like standing at the edge of a big, open field, wondering where to take that first step. When it comes to making a hibiscus drawing, the good news is that you don't need a lot of fancy equipment or years of art school. All you really need is some paper, a pencil, and a bit of a willingness to try. It's truly that simple to get going. A lot of people find that just having those basic items makes the whole process feel much less intimidating, you know, just a little bit.
One very helpful way to get started is by looking at how others have approached making these flowers. There are many helpful resources out there, like video lessons that show you the whole process, step by step. Watching someone else put lines on paper can give you a really clear idea of where to begin and what to do next. It's like having a friendly guide right there with you, showing you the ropes. Sometimes, just seeing the movement of the hand can teach you a lot about how to hold your own pencil and make your marks. Basically, it helps you feel more comfortable before you even make your first mark.
These beautiful flowers, the hibiscus, have a pretty interesting story themselves. They're found in many warm places around the globe and hold a special meaning in a lot of different cultures. Some people see them as a symbol of beauty, while others connect them with delicate grace or even a certain kind of joy. Knowing a little bit about the flower itself can sometimes give your drawing a bit more depth, a feeling of connection to something bigger than just a pretty bloom. It's a way to add a bit of heart to your hibiscus drawing, as a matter of fact.
Simple Steps for Your First Hibiscus Drawing
Let's talk about getting those first shapes down on your paper. A really good way to begin any drawing, especially something like a flower, is to think about its overall size and where it will sit on your page. You can start by drawing a simple rectangle. This shape will help you figure out the general space your hibiscus drawing will occupy. It's like setting up a little boundary for your picture, which can make things feel a lot less overwhelming. This basic step helps keep everything in proportion, which is pretty useful.
Once you have that rectangle, you can then add some guiding lines inside it. Imagine dividing your rectangle right down the middle, both vertically and horizontally. These lines aren't meant to be part of your final picture, but they act as helpful guides for placing the different parts of your flower. They give you a center point and help you balance the petals and leaves around it. It's kind of like having a simple map to follow as you build up your hibiscus drawing, so you don't get lost, you know.
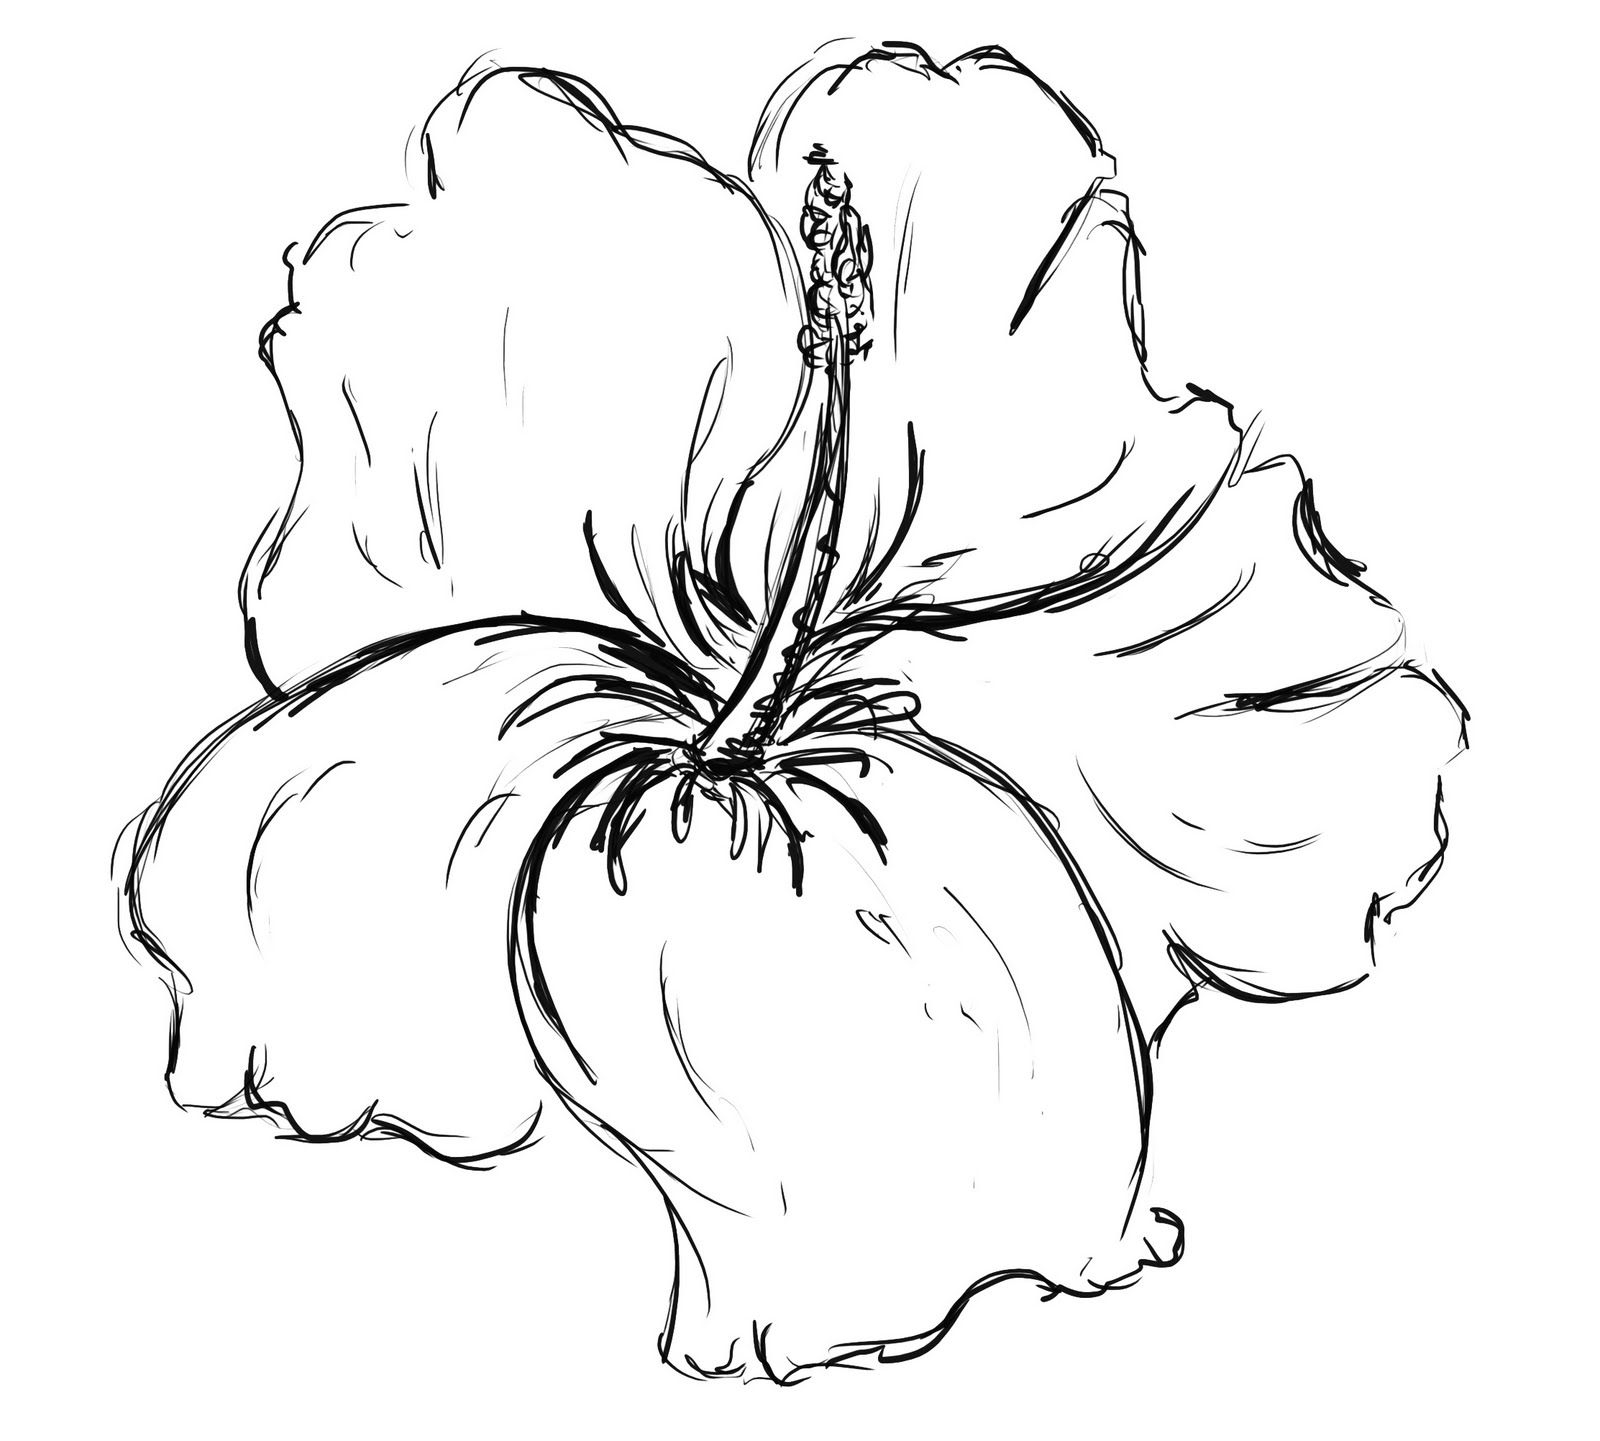
After you have your basic guides, you can start to sketch the main shapes of the flower. Think about the big, broad petals and how they fan out from the center. Don't worry about making them perfect at this stage; just get the general flow and placement right. You're just putting down light lines, almost like whispers on the paper. This is the stage where you can really let your hand move freely, experimenting a bit with the curves and dips of the petals. Remember, you're just building the foundation for your hibiscus drawing, not finishing it, anyway.
Next, you'll want to add the basic shape of the leaves and the stem. Hibiscus leaves are often quite broad and have a distinct shape, so try to capture that general outline. The stem usually comes from the bottom of the flower and extends downwards. Again, these are just light sketches. You're not pressing hard with your pencil. This allows you to make changes easily, which is pretty important when you're just getting a feel for the form. It's all about getting the general arrangement right before you add the finer points, basically.
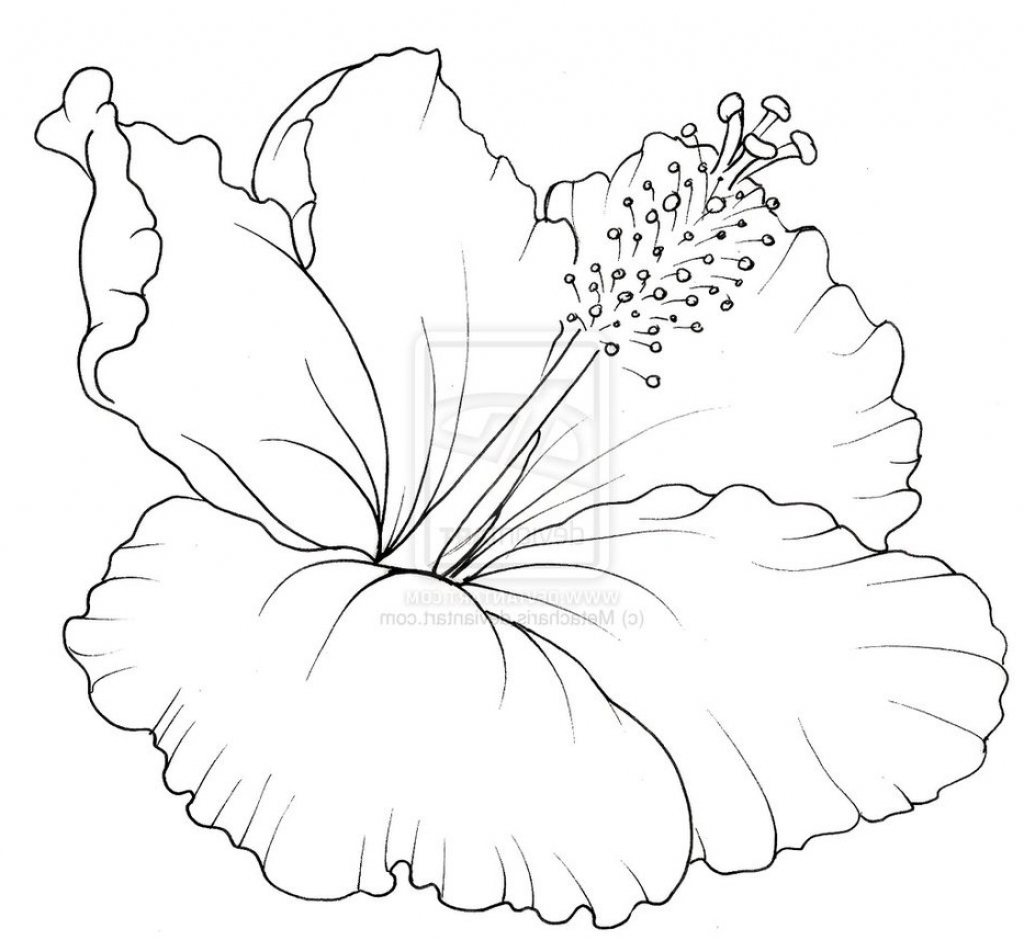
As you get more comfortable, you can start to refine those initial lines. Make your petal shapes a bit more defined, giving them their characteristic curves and slight overlaps. You can also add the long stamen that extends from the center of the hibiscus, with its little pollen tips. This is where your hibiscus drawing starts to look more like the real thing. Take your time with this part, making sure each line feels right. You're slowly bringing the flower to life on your paper, in a way, you know.
What Makes a Hibiscus Drawing Pop?
A simple outline of a hibiscus is lovely, but to really make your hibiscus drawing sing, you'll want to think about adding some life to it. This often comes down to how you use color and how you add those smaller details that bring the picture to life. It's like adding the finishing touches to a nice meal; they might seem small, but they make a big difference in the overall experience. A little bit of thought here can really change the whole feel of your picture, you know, quite a lot.
Consider the different ways you can approach adding color. You could use bright, bold markers for a very graphic and strong look. Or, you might prefer the softer, blended appearance that colored pencils offer. Each tool gives a different feel to your hibiscus drawing. Experimenting with various art supplies can be a lot of fun, and it helps you discover what you like best. Don't be afraid to try a few different things; sometimes the most unexpected combinations create the prettiest results, so it's almost always worth a try.
Beyond just the tools, think about the actual colors you choose. Hibiscus flowers come in a huge range of hues, from bright reds and oranges to soft pinks, yellows, and even whites. You can stick to a realistic color scheme, or you could get really creative and use colors that aren't typically seen on a hibiscus. Imagine a blue or purple hibiscus drawing! There are no rules when it comes to expressing your creativity. The important thing is to have fun with it and make it your own, that is really the main point.
Adding Life to Your Hibiscus Drawing with Color
When you're ready to add color to your hibiscus drawing, start with the main petals. If you're using colored pencils, you might want to begin with a lighter shade and then build up the color in layers. This gives you more control and allows you to create smooth transitions. For instance, if your hibiscus is going to be a deep red, you could start with a light pink and then add layers of a brighter red, then a darker red, to give it depth. It's a bit like painting with pencils, in some respects.
The center of the hibiscus, where the stamen comes out, often has a different color or a darker shade. Pay attention to this detail, as it helps define the flower's core. You might use a contrasting color here, like a bright yellow or a deep maroon, to make it stand out. This small detail can make a big impact on how realistic or vibrant your hibiscus drawing appears. It gives the eye a place to rest and adds a focal point, you know, a pretty important one.
Don't forget the leaves and the stem. Even though they might not be the main focus, giving them a nice green hue helps ground your flower and makes it feel complete. You can use different shades of green to add variety to the leaves, perhaps a lighter green for areas where the sun might hit, and a darker green for shaded parts. This attention to the surrounding elements really helps your hibiscus drawing look finished and polished, pretty much every time.
A common color for hibiscus petals is a rich, deep red, sometimes called carnelian. This color has a beautiful warmth to it. When you're coloring the petals, try to follow the natural curve of the flower. This means your strokes might go outwards from the center, following the shape of each petal. This technique helps to give your hibiscus drawing a more natural look and feel, as if the petals are truly curving and folding. It's a simple trick that can make a big difference, honestly.
Finally, consider adding a bit of shadow. Even a very light shadow under the petals or where one petal overlaps another can give your hibiscus drawing a sense of three dimensions. You can use a slightly darker shade of your chosen color, or even a very light grey or brown, to create these subtle shadows. This step can really make your flower seem to lift off the page, adding a lovely sense of depth to your artwork. It’s a very effective way to make things look more real.
How Can You Use Your Hibiscus Drawing Creations?
Once you've spent some time making your hibiscus drawing, you might wonder what to do with it. The good news is that your new skill can open up a whole world of creative possibilities. It's not just about having a picture on a piece of paper; it's about what that picture can become. People often find that the act of creating is just as rewarding as the finished product, but having something tangible to show for your efforts is pretty nice too. So, what can you do with your beautiful bloom sketches, you ask?
One very popular idea is to use your hibiscus drawing as a basis for tattoos. Of course, you wouldn't be doing the actual tattooing, but your unique design could be given to a professional artist who could then bring it to life on skin. This gives you a truly personal piece of body art, something that no one else will have. It's a way to carry a piece of your own creativity with you, which is kind of cool, right?
Another fun option is to turn your drawing into a printable. You could scan your hibiscus drawing and then print it out on different types of paper, maybe even cardstock. These printables could be used for various purposes, like making your own greeting cards, creating wall art, or even just having multiple copies of your favorite design. It's a very simple way to share your art with others or to make gifts, you know, something thoughtful.
Beyond the Paper - Practical Uses for Your Hibiscus Drawing
Your hibiscus drawing can also become the starting point for some delightful crafts. Imagine taking your flower design and using it as a pattern for embroidery, or maybe even painting it onto fabric to make a custom tote bag or a decorative pillow. You could cut out your drawn hibiscus and use it as part of a collage, or even make a stencil from it. The possibilities are pretty wide open when you start thinking about using your art in different ways. It’s a great way to bring your drawings into your daily life, actually.
For many, the act of drawing itself is a calming activity, but your hibiscus drawing can also be used as a coloring page. You can make copies of your outline and then use them for a bit of relaxing coloring. This is something many people find very soothing, almost like a form of quiet meditation. You can color your own designs, or even share them with friends and family to color. It’s a simple pleasure that can bring a lot of peace, you know, a really nice one.
The act of creating your own personal coloring page from your hibiscus drawing is especially rewarding. It means you have a design that truly speaks to you, one that you brought into being. Then, when you sit down to fill it with color, there's an added layer of connection to the artwork. It becomes a deeply personal tool for relaxation and self-expression. This makes the whole process feel much more meaningful, very much so.
Any Tips for a Better Hibiscus Drawing Experience?
Making a picture of a hibiscus is a journey, and like any journey, there are little things that can make the trip more enjoyable and the destination more beautiful. It's not just about the lines you make, but also about the tools you choose and the mindset you bring to the process. A few simple adjustments can really help you feel more comfortable and confident as you create your hibiscus drawing. So, what are some of those little insights that can make a big difference?
When you're first getting started, using a pencil is almost always a good idea. Pencils are forgiving. If you make a line you don't like, it's very easy to erase it and try again without any stress. This freedom to make mistakes and correct them is really important when you're learning something new. It takes away the pressure to be perfect from the very first stroke, which is pretty freeing, you know. You can just focus on getting the shapes right without worrying about permanence.
And speaking of erasing, never, ever be shy about it. Your eraser is one of your best friends when you're drawing. It's not a sign of failure; it's a tool for improvement. Artists use erasers all the time to refine their work, to lighten lines, or to completely change something that isn't working. Embracing your eraser means you're open to learning and growing, which is a very good attitude to have for any creative pursuit. It’s a very practical thing, really.
Sometimes, a single hibiscus flower drawing looks lovely on its own. It can be a simple, elegant statement. But if you want to make your picture feel even more complete or dynamic, consider adding more flowers. A cluster of hibiscus blooms, perhaps in different stages of opening, can create a very rich and interesting composition. It adds depth and a sense of abundance to your artwork. This is a pretty simple way to make your hibiscus drawing feel more complex and engaging, you know.
Making Your Hibiscus Drawing Truly Shine
To really take your flower sketches to a higher level, you might want to look into more detailed guidance. While simple steps are great for starting, exploring more in-depth tutorials can teach you about shading, texture, and other techniques that add realism and artistry. These kinds of lessons can help you understand how light falls on petals or how to make a stem look round. It’s about adding those finer details that make a good hibiscus drawing into a truly striking one, basically.
Think about adding other elements to your hibiscus drawing. For example, a delicate hummingbird hovering near the flower can add a sense of movement and life to your picture. The tiny bird, with its wings beating fast, contrasts beautifully with the stillness of the bloom. This kind of addition tells a bit of a story and makes your artwork more captivating. It's a way to create a whole little scene around your flower, you know, a pretty charming one.
When you're drawing the leaves, pay attention to their base. These large leaves often have a strong connection point to the stem. Getting this base right helps the leaves look like they're truly part of the plant and not just floating. Then, you can work on the outlines of the leaves and the petals using colored tones. This means using a light hand to suggest the edges, rather than drawing hard, dark lines. It gives a softer, more natural look to your hibiscus drawing, honestly.
Finally, when you're working with colored pencils, remember that you can build up the intensity of the color. Start with a light touch for the top petals, and then gradually add more pressure or more layers of color to achieve the desired richness. This layering technique allows for subtle variations in hue and can make your hibiscus drawing appear much more vibrant and lifelike. It’s a very satisfying way to bring your art to its full potential, very much so.
This guide has walked you through the delightful process of creating your own hibiscus drawings, from the very first pencil marks to adding vibrant color and considering how you can use your finished artwork. We've talked about starting with simple shapes, building up details, and the joy of using different art supplies. We also explored how your drawings can become more than just pictures, turning into personal coloring pages, craft starters, or even inspiration for tattoos. The aim was to show that drawing these beautiful flowers is an accessible and rewarding activity for anyone, regardless of their experience level.
Hibiscus Flower Drawing Step By Step at GetDrawings | Free download

Drawing Of An Outline Hibiscus Flower Coloring Pages Sketch Vector
Hibiscus Pencil Drawing at PaintingValley.com | Explore collection of
