Polar Bear Drawing - Your Guide To Creating Arctic Art
Table of Contents
- How to Begin Your Polar Bear Drawing Adventure?
- What Materials Do You Need for Your Polar Bear Drawing?
- Following Along- How Video Tutorials Help Your Polar Bear Drawing?
- Adding Life to Your Polar Bear Drawing- Details and Backgrounds
- Is a Realistic or Cartoon Polar Bear Drawing Right for You?
- Using Your Polar Bear Drawing for Fun Projects
- Learning from Others- How Observation Helps Your Polar Bear Drawing
- Tips for Your Polar Bear Drawing Journey
Thinking about bringing a majestic polar bear to life on paper? It's a wonderful idea, really, and something many folks find quite rewarding. Whether you're just starting out with art or you've been sketching for a while, capturing the calm beauty of these creatures can feel like a big step, but it's more approachable than you might think. We've got some helpful ideas for your polar bear drawing that can make the whole process a bit easier and much more fun.
There are so many ways to approach creating art, especially when it comes to animal subjects. People often look for ways to make their art feel alive, to give it that something extra. When you think about a polar bear drawing, you might picture its soft, white coat or its strong, powerful shape. We're going to talk about how you can get those feelings into your own pictures, no matter your current skill level, actually.
You might be surprised by how simple it can be to get started, perhaps with just a pencil and some paper. Many folks have found success following clear, easy instructions, and that's precisely what we're going to share. From drawing the basic shape to adding those little details that make a polar bear drawing stand out, we'll cover some good ways to go about it, you know.
How to Begin Your Polar Bear Drawing Adventure?
Starting any new creative project can feel like a big deal, but when it comes to a polar bear drawing, it's really about taking one small step at a time. A good beginning can set the tone for your whole picture, making the rest of the process feel much smoother and more enjoyable. It’s about getting comfortable with your tools and the subject before you get too deep into the finer points, you see.
For many people, the thought of drawing something that looks like a real animal can seem a bit much at first. However, the secret often lies in breaking down what you see into more manageable bits. This way, you're not trying to capture every single detail all at once, which can feel pretty overwhelming, honestly. Instead, you're building your picture piece by piece, just like putting together a puzzle.
Starting with Simple Shapes for Your Polar Bear Drawing
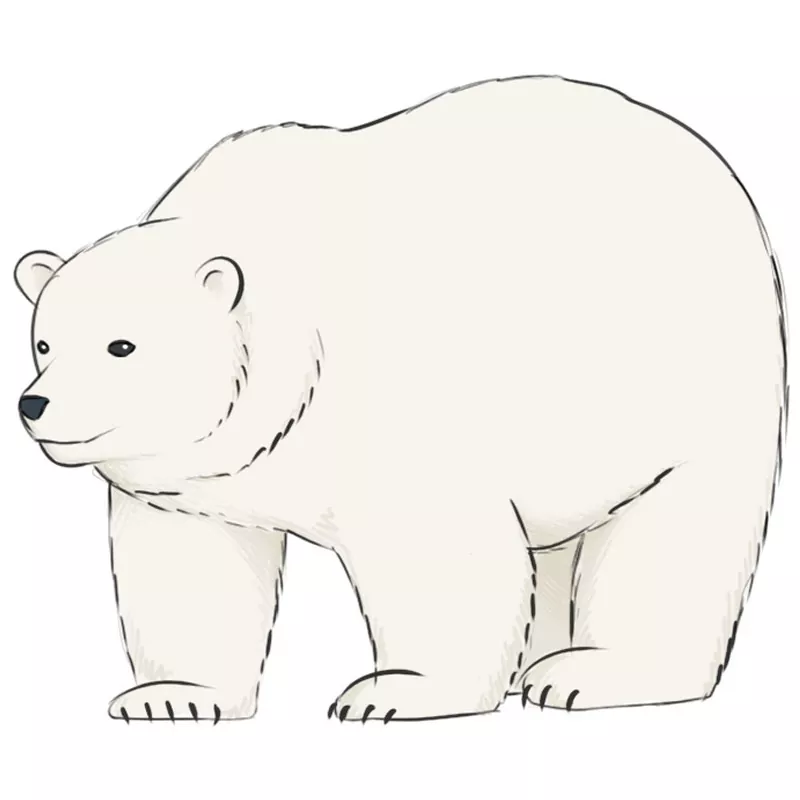
When you set out to create a polar bear drawing, one of the best places to start is with the animal's face. It's often where people connect with a creature, seeing its personality, in a way. You can find out how to sketch the front part of a polar bear's head by using just a few basic forms and getting the sizes right in relation to each other, you know. This method really helps to build a solid base for your picture, making sure everything sits where it should.
For example, you might begin with a shape that looks a bit like a slightly squashed circle for the head, using a curved line. This isn't about making it perfect right away; it's about getting a general sense of where things will go. Then, you can add the body's main form, perhaps with one long, flowing curved line. These initial shapes are like the skeleton of your polar bear drawing, providing a framework to build upon, basically.
This approach is especially helpful for those who are just beginning their art making journey. It takes away some of the pressure of getting everything perfect on the first try. By focusing on these simpler forms, you get to understand the overall structure of the polar bear before you add any of the smaller, more intricate parts. It’s a very forgiving way to learn, too, it's almost like a warm-up before the main event.
What Materials Do You Need for Your Polar Bear Drawing?
Before you begin any creative pursuit, gathering the right items is usually a good idea. For a polar bear drawing, you don't need a huge collection of fancy art supplies. Sometimes, less is actually more, allowing you to focus on the act of creating rather than being distracted by too many choices. What you pick out will depend a little on the kind of look you're hoping to achieve, you know.
Most of the time, for a simple polar bear drawing, a pencil and some paper are really all you need to get going. These basic tools are incredibly versatile and allow for a lot of freedom in how you work. You can sketch lightly to plan your shapes, then press harder for the lines you want to keep. It's pretty straightforward, honestly, and it lets you get right into the fun part without much fuss.
Gathering Your Tools for a Great Polar Bear Drawing
When you're getting ready for your polar bear drawing, having your drawing materials close by is a good plan. This might include your pencils, some paper, maybe an eraser, and whatever you plan to use for color. Crayons or colored pencils are often a nice choice for kids, as they are easy to handle and offer a good range of shades, as a matter of fact.
For those who might want to add some background flair to their polar bear drawing, things like watercolor paints and even a bit of rock salt can create a wintery look. This resist technique with rock salt is a rather neat way to add texture that looks like snow or ice. It’s a simple trick that can add a lot of visual interest to your arctic scene, making your bear feel truly at home in its environment.
Remember to pay attention to the different sizes and forms you see in any example pictures of a polar bear drawing you might be using. This helps you get a sense of how big different parts of the bear should be in relation to each other. Having your materials ready and a clear idea of what you're looking at can make the whole drawing experience much more relaxed, you know.
Following Along- How Video Tutorials Help Your Polar Bear Drawing?
Learning how to draw often becomes much easier when you have someone showing you the way. Video tutorials, for instance, can be a really helpful resource for anyone wanting to create a polar bear drawing. They let you see each action as it happens, which is often clearer than just reading words on a page. It’s like having a friendly art teacher right there with you, basically.
These kinds of lessons are especially good for beginners. You get to watch the lines being made, understand the rhythm of the drawing, and pick up on little tricks that might not be obvious otherwise. A good video tutorial can break down what seems like a big task into smaller, very manageable steps, making the idea of a detailed polar bear drawing feel much less daunting, too, it's almost like magic.
Making the Most of Step-by-Step Polar Bear Drawing Guidance
To truly get the most out of a video lesson for your polar bear drawing, you can follow along with the video at your own speed. This means you can hit the pause button after each step to draw what you just saw. This way, you're not rushing, and you can really take your time to get the lines just right before moving on, you know.
Many helpful tutorials will show new lines in a different color, perhaps in red, so you'll know precisely what to put down next. Other lessons might outline the most recent shapes in blue, so you can easily spot what you should be working on. This visual cue is incredibly useful for staying on track and understanding the progression of your polar bear drawing, making the process very clear, actually.
It’s all about building confidence as you go. By taking each part one at a time, you'll see your polar bear drawing come together bit by bit. This step-by-step method is quite effective for people who are just starting out, as it gives a clear path to follow without making you feel lost. It's a very encouraging way to learn, in some respects, letting you feel successful with each small achievement.
Adding Life to Your Polar Bear Drawing- Details and Backgrounds
Once you have the main shapes of your polar bear drawing laid out, the next exciting part is adding the little touches that bring it to life. This is where your picture starts to get its own personality and really pop off the page. It's not just about the bear itself, but also about the world you create around it, which can add so much to the overall feel, you know.
These extra bits, like shading, texture, and background elements, can turn a simple sketch into a more complete work of art. They help tell a story about your polar bear drawing and where it lives. It’s a chance to use your imagination and make your picture truly unique, actually, reflecting your own artistic vision.
Bringing Your Polar Bear Drawing to Life with Color and Texture
When you're ready to add color to your polar bear drawing, you can use crayons or colored pencils to fill in the different areas. For instance, you might start with the bear's claws. You could use the same tool you used for the main body, but switch to a brown color, carefully filling in each claw. This helps give them a distinct look against the white fur, you see.
Then, you can take black paint or a black pencil to fill in the smaller, darker parts of your polar bear drawing. This includes the ear, the eyes, the nostrils, and the lines for the mouth. These small, dark touches really help to define the bear's features and give it a sense of character. They are often the bits that make the bear feel more real or more cute, depending on your goal, you know.
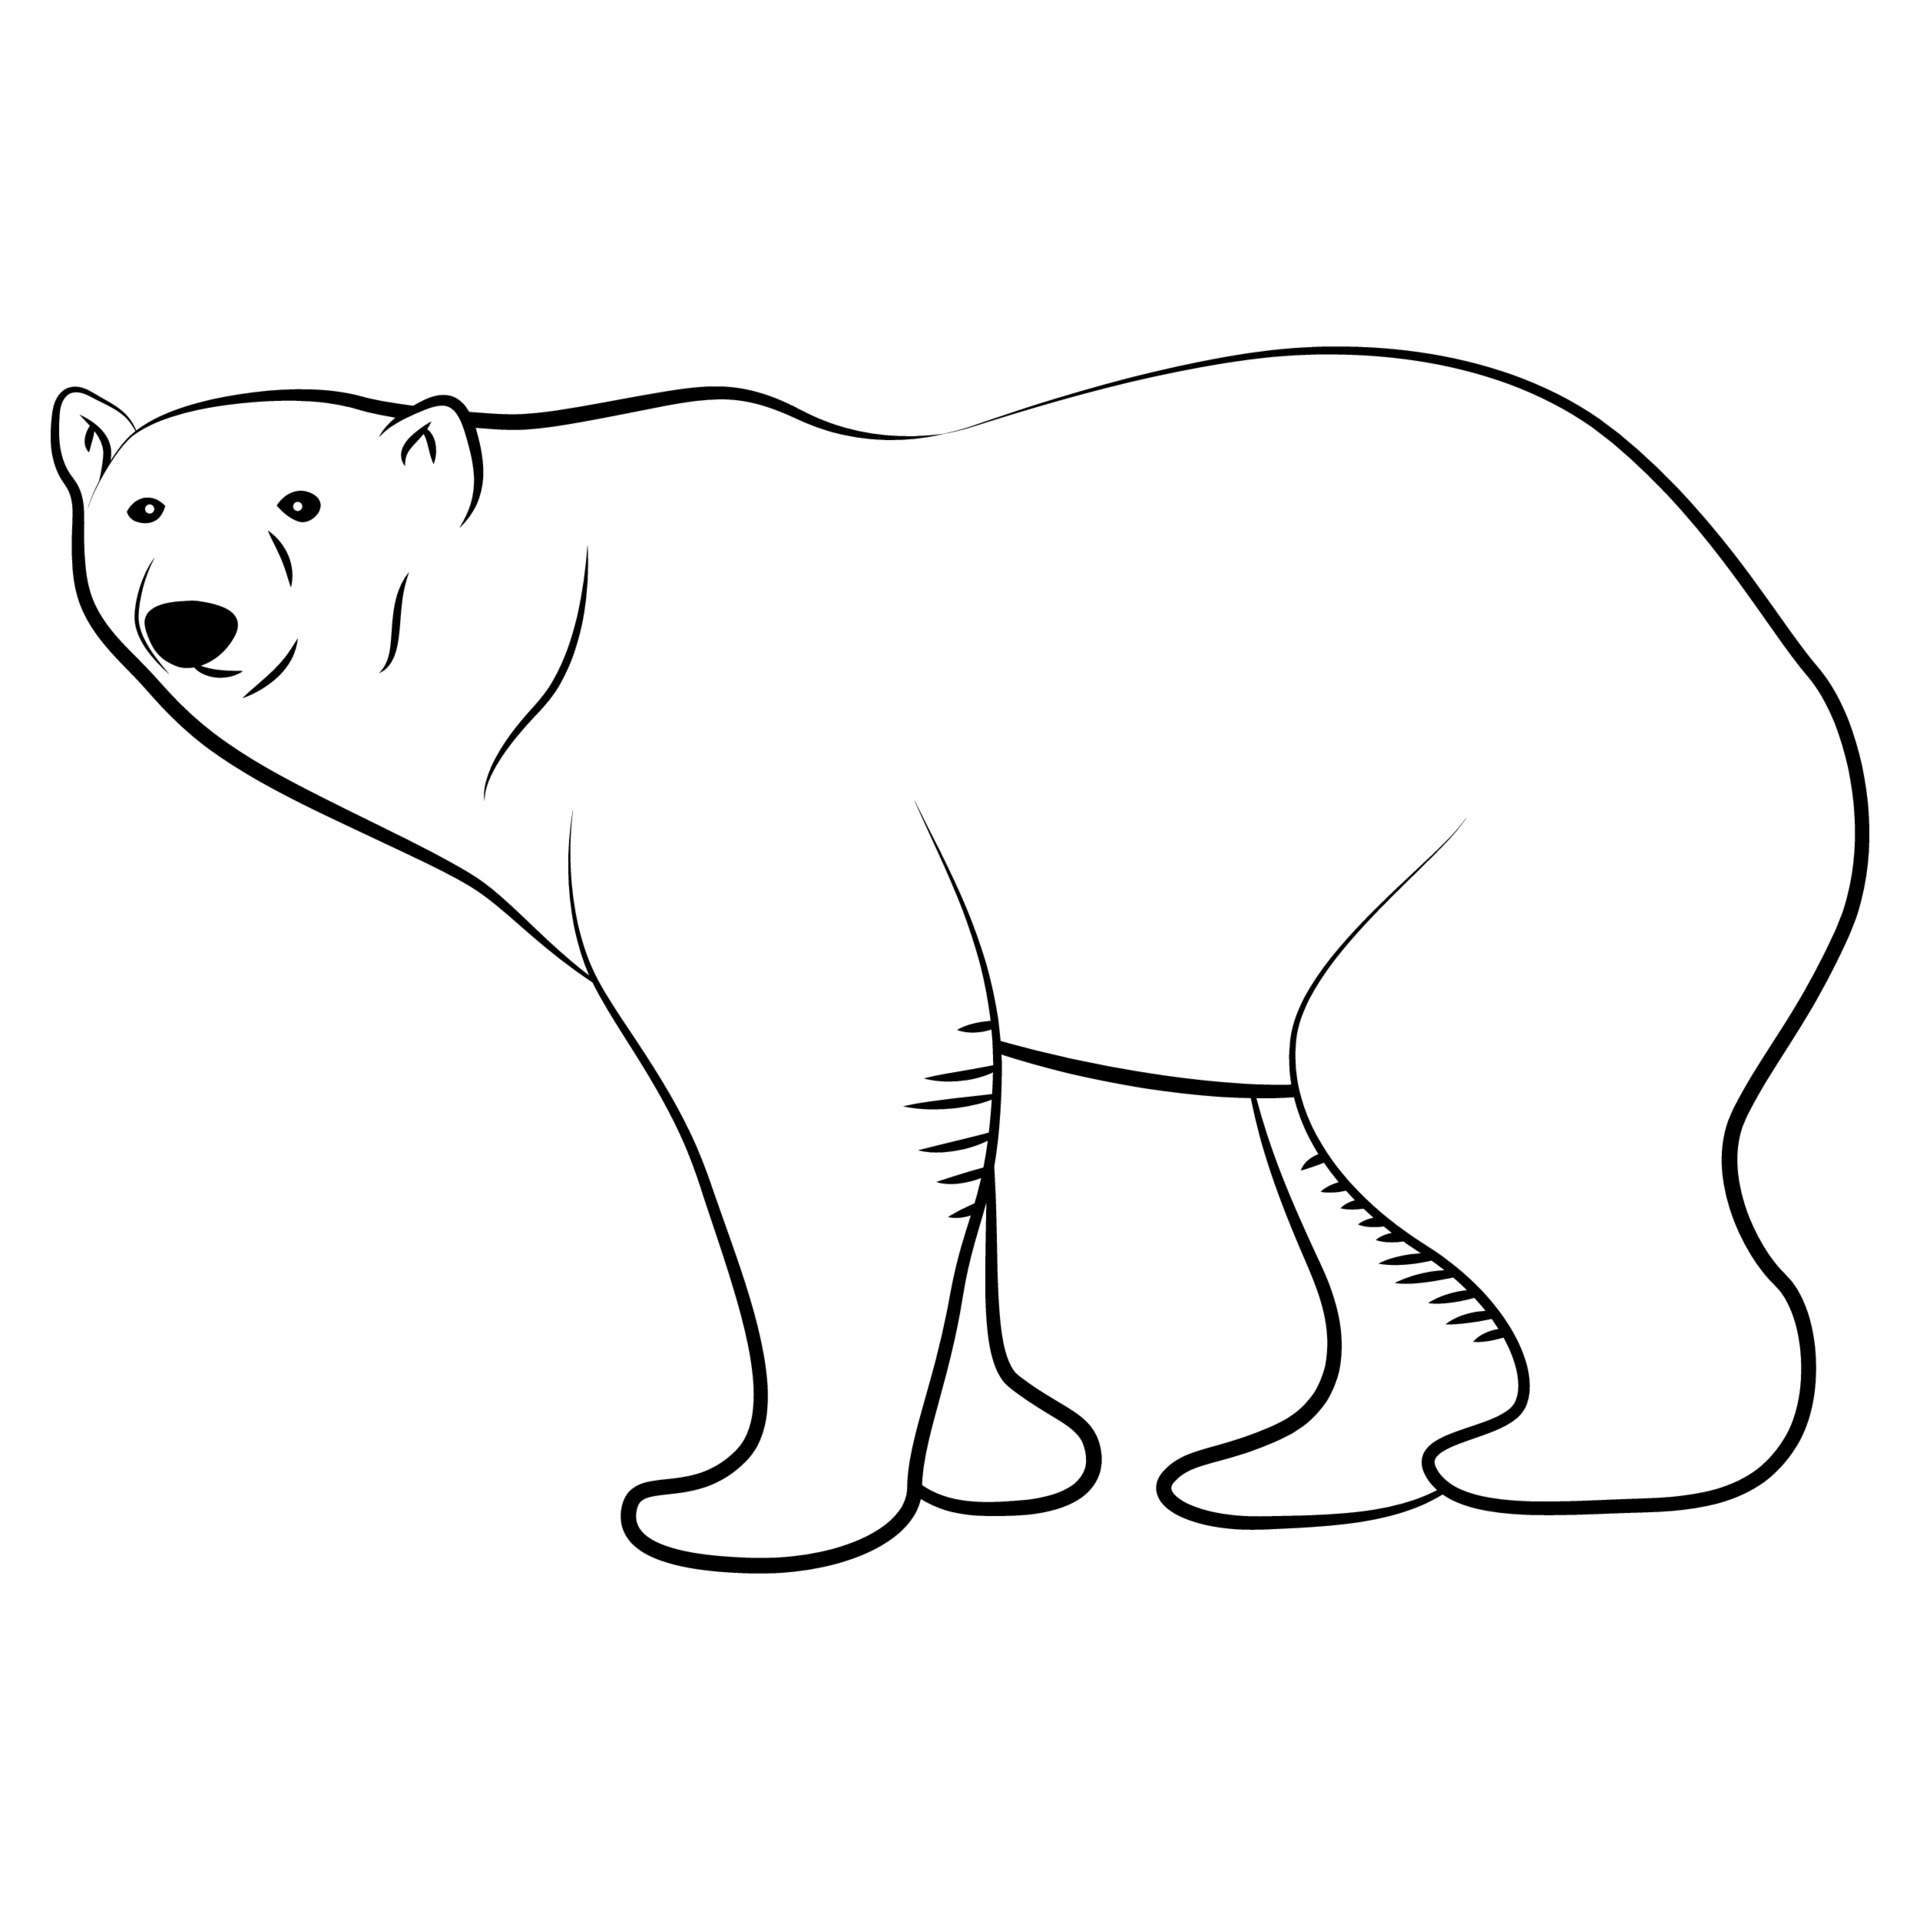
Thinking about the bear's back and hind legs, especially for a polar bear drawing that aims for a more true-to-life appearance, you might want to add a few subtle bumps. Large bears, like polar bears or grizzly bears, often have a few natural curves or slight bumps along their backs. So, if you're going for a more realistic polar bear drawing, adding these little variations can make a big difference. However, if you prefer a more cartoon-like polar bear drawing, a smooth, gentle curved line for the back will work just fine, basically.
Is a Realistic or Cartoon Polar Bear Drawing Right for You?
When you sit down to create a polar bear drawing, one of the early choices you might make is about the overall feel or look you want to achieve. Do you want your bear to look very much like the real animal you might see in the wild, or are you hoping for something more playful and stylized, like a character from a storybook? Both ways are perfectly good, you know, and each has its own charm.
The style you choose can influence how you approach the shapes, the details, and even the colors you use. There’s no single "right" way to make a polar bear drawing; it's all about what you enjoy creating and what kind of message you want your picture to convey. It's a very personal decision, in some respects, that guides your hand as you draw.
Choosing Your Style for Your Polar Bear Drawing
You can learn how to create a polar bear drawing in either a style that looks very much like the real thing or one that's more sweet and charming. Many resources offer free worksheets that you can print out and use for practice, no matter which style you prefer. These practice sheets can be a really helpful way to try out different looks without feeling like you're wasting paper, honestly.
For a more true-to-life polar bear drawing, you'll probably focus on getting the shapes and textures to resemble what you see in photographs or videos of actual polar bears. This might involve adding those subtle bumps on the back we talked about, or paying close attention to the way the fur seems to flow. It's about observing closely and trying to copy what's already there, you know.
On the other hand, if you're aiming for a more cartoon-like polar bear drawing, you have a lot more freedom to simplify shapes, make features larger or smaller, and perhaps even give your bear a very expressive face. This style is often about capturing the spirit of the animal in a fun, less strict way. It's really about letting your imagination run a bit wild, which can be very liberating, actually.
Using Your Polar Bear Drawing for Fun Projects
Once you’ve finished your polar bear drawing, the fun doesn't have to stop there. Your creation can be used in so many different ways, going beyond just being a picture on a piece of paper. It’s a chance to extend your creativity and even share what you’ve made with others, which can be quite satisfying, you know.
A finished drawing can become part of something bigger, or it can stand on its own as a lovely piece of art. It’s about taking pride in what you've accomplished and finding new ways to enjoy

How to Draw Polar Bear - HelloArtsy
How to Draw a Polar Bear - Easy Drawing Art
Polar Bears Drawing
